Tilt Shift Image Effect Online Create a miniature/tilt-shift effect by blurring above and below a focal band.
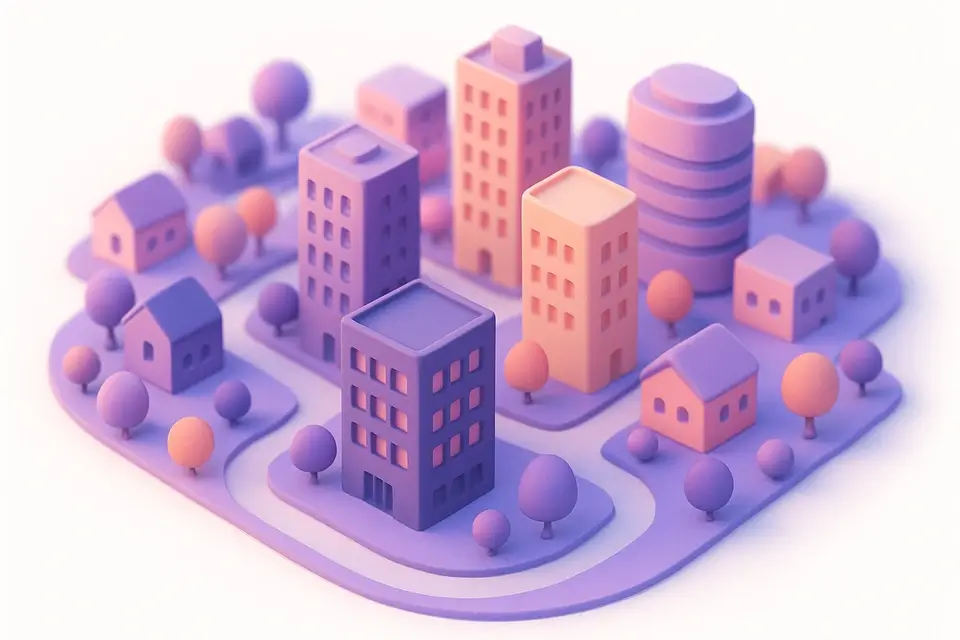
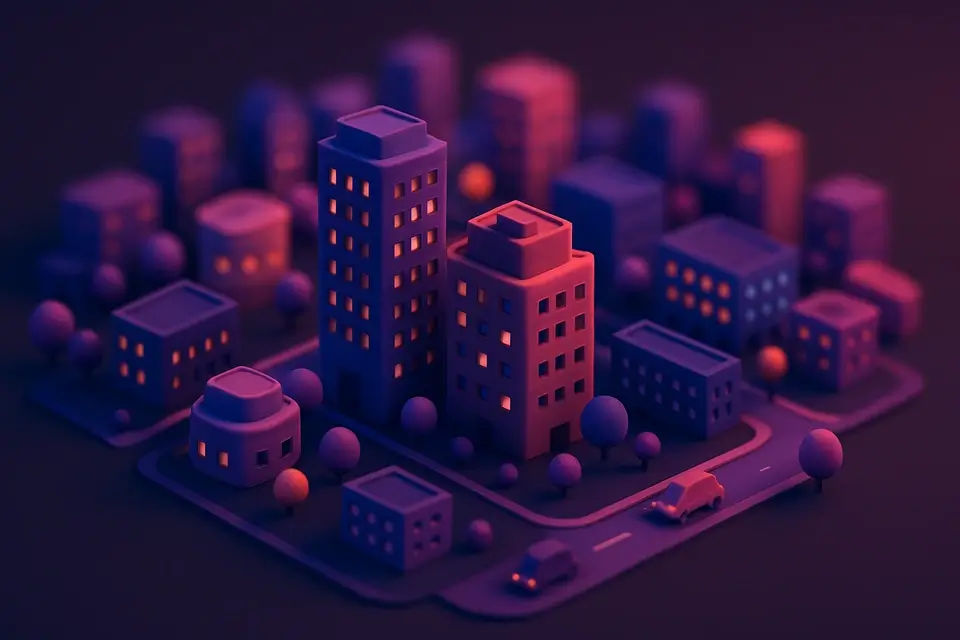
Image Tilt Shift
Create a miniature/tilt-shift effect by blurring above and below a focal band.
Upload Your Image
Drop or select an image — aerial photos work best.
Adjust Focus Band
Set the position, width, and blur strength.
Apply and Download
Click Apply, preview the miniature effect, and download.
What Is Image Tilt Shift?
Image Tilt Shift is a technique used to create a miniature effect in photos by applying selective blur, where a horizontal strip remains sharp while the surrounding areas are progressively blurred. Photographers and graphic designers use it to add a unique twist to their images, making scenes look like toy models. One specific problem it solves is creating a sense of depth and scale in an image, which can be particularly useful for product photography or landscape shots.
The tool allows users to control the focus position, band width, and blur amount, giving them fine-grained control over the tilt shift effect. For instance, the focus position can be adjusted between 10% and 90%, while the band width can range from 5% to 50%. This level of customization enables users to achieve a wide range of effects, from subtle to extreme.
What makes this tool different is its ability to apply the tilt shift effect in real-time, using a canvas element to render the image. The code uses the `blur` filter to create a blurred version of the image, which is then combined with the original image to produce the selective blur effect. This results in a high-quality tilt shift photo with a convincing toy model effect, making it ideal for applications where a unique visual style is required.
Why Use Image Tilt Shift?
-
Adjustable focal band position, width, and blur strength
-
Creates convincing miniature/toy model effect
-
Progressive blur gradient for natural depth of field
-
Works best with aerial and high-angle photographs
Common Use Cases
Miniature Effect
Make real-world scenes look like tiny toy models.
Selective Focus
Draw attention to a specific horizontal band.
Creative Photography
Add a whimsical look to landscape and urban photos.
Social Media
Create eye-catching miniature-style posts.
Technical Guide
Under the hood, Image Tilt Shift relies on the HTML5 Canvas API to manipulate images. When an image file is dropped into the tool, it uses the `URL.createObjectURL` method to create a blob URL that can be used as the source for an `img` element. The image is then drawn onto a canvas element using the `drawImage` method of the 2D drawing context. To achieve the tilt shift effect, the code applies a blur filter to the entire image using the `filter` property of the 2D context, set to `blur(${blurAmount}px)`. This blurred version is then combined with the original sharp image by iterating over each pixel and calculating a weighted average based on the distance from the focal point.
The calculation uses the `position`, `bandWidth`, and `blurAmount` values to determine the amount of blur to apply at each pixel. The `position` value controls the vertical position of the focal band, while `bandWidth` determines its height. The `blurAmount` value sets the intensity of the blur effect in pixels. By adjusting these parameters, users can fine-tune the tilt shift effect to achieve the desired level of selective blur. The resulting image is then rendered on the canvas element using the `putImageData` method and finally converted to a PNG file format using the `toDataURL` method.
The React library is used to manage the tool's state and handle user interactions, such as adjusting the focus position, band width, and blur amount. When the user clicks the "Apply" button, the `processImage` function is called, which triggers the image processing pipeline. This involves loading the image onto the canvas, applying the blur filter, and compositing the sharp and blurred versions using a gradient mask. The resulting image is then displayed in a preview area, allowing users to review and refine their settings before downloading the final result.
Tips & Best Practices
-
1Aerial/bird's-eye photos produce the most convincing results
-
2Narrow focus band (10-20%) creates a stronger miniature illusion
-
3Boosting saturation enhances the toy model look
-
4Position the focus band on the main subject
Related Tools

Image Contrast
Adjust image contrast to enhance or reduce the difference between light and dark areas.
🖼️ Image Tools
Image Saturation
Adjust the color saturation of images to make colors more vivid or more muted.
🖼️ Image Tools

Image Blur
Apply box blur to soften images with adjustable radius control.
🖼️ Image Tools
Image Vignette
Add a vignette effect with adjustable darkness, radius, and softness.
🖼️ Image ToolsFrequently Asked Questions
Q Which photos work best?
Q Can I move the focus band?
Q How wide should the focus band be?
Q Does this work on portraits?
About This Tool
Image Tilt Shift is a free online tool by FreeToolkit.ai. All processing happens directly in your browser — your data never leaves your device. No registration or installation required.