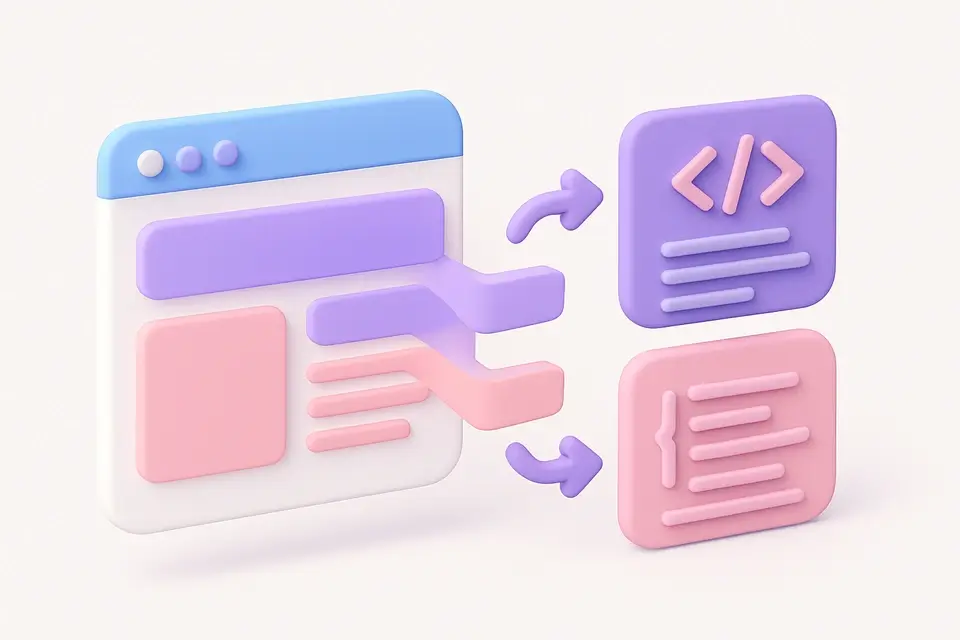
Turn Screenshots into HTML & CSS Code Analyze screenshots and generate basic HTML/CSS layout code from detected regions.
Screenshot to Code
Analyze screenshots and generate basic HTML/CSS layout code from detected regions.
Upload Screenshot
Drop or select a screenshot of a UI or webpage.
Analyze
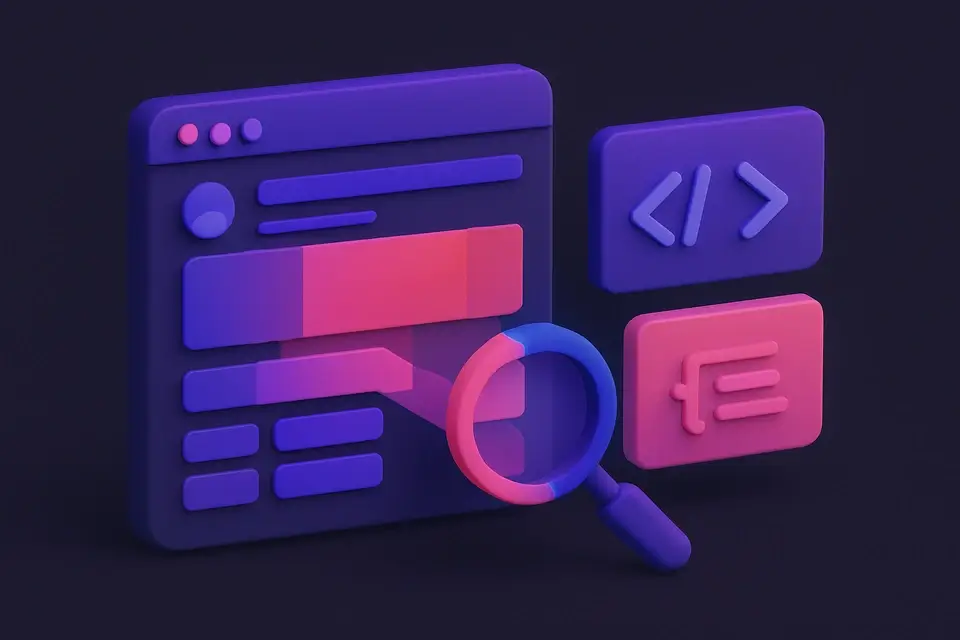
The tool detects colored regions and classifies them as layout blocks.
Get Code
Copy or download the generated HTML/CSS layout code.
What Is Screenshot to Code?
A Screenshot to Code is a development tool that analyzes UI screenshots and generates basic HTML/CSS layout code from them, essentially converting image to html. It's primarily used by front-end developers and designers who need to recreate layouts from existing designs or mockups, solving the specific problem of manually writing code for complex layouts.
The tool solves this problem by using a grid-based approach to detect uniform color regions in the screenshot, which are then classified as navbars, sections, buttons, or containers based on their size and color. What makes it different is its ability to merge overlapping regions and keep only significant ones, ensuring that the generated code is concise and accurate.
It also features an overlay preview of detected regions on the original screenshot, allowing users to verify the accuracy of the layout detection. This preview is achieved by absolutely positioning div elements with matching colors over the screenshot image, providing a clear visual representation of the generated ui to code. By generating positioned div elements with matching colors, it simplifies the process of converting screenshot to html, making it easier for developers to focus on more complex aspects of their projects.
Why Use Screenshot to Code?
-
Automatic region detection and classification
-
Generates valid HTML5 with inline CSS
-
Visual overlay showing detected blocks
-
Quick starting point for layout recreation
Common Use Cases
Prototyping
Quickly convert mockup screenshots into starter HTML.
Learning
Understand how layouts can be broken into HTML elements.
Reverse Engineering
Approximate the layout of existing websites.
Documentation
Generate layout descriptions from UI screenshots.
Technical Guide
Under the hood, it uses React's useState and useRef hooks to manage image data and canvas elements. When an image is dropped into the tool, it creates a URL object using URL.createObjectURL and sets the image state. The analyze function then gets called, which draws the image onto a hidden canvas element using the 2D drawing context from the HTMLCanvasElement. It scans the image in a grid of 20x20 pixels, sampling each cell for its dominant color by accessing the RGBA values of each pixel through the getImageData method.
The tool uses a simple flood fill algorithm to merge adjacent cells with similar colors into rectangular regions. Each region is classified based on its size and color properties, such as width, height, and luminance calculated using the W3C luminance formula. The type classification is done by checking if the region's width or height exceeds certain thresholds, for example, a narrow-tall region might be classified as a navbar while a large-light region could be a container. The regions are then filtered to only include significant ones with a minimum size of 40x20 pixels.
To generate the HTML and CSS code, it uses string concatenation to build the HTML document structure, including the doctype declaration, html tag, head tag, and body tag. It also generates CSS styles for each detected region using the position absolute property and percentages relative to the source image dimensions for responsive scaling. The output is a complete HTML document that can be copied or downloaded by the user, with the generated code displayed in a text area using a pre element and a monospace font family like system-ui or sans-serif.
The tool relies on various browser APIs such as navigator.clipboard.writeText to copy the generated code to the clipboard and URL.revokeObjectURL to release object URLs when they are no longer needed, ensuring proper memory management. The use of React's useCallback hook helps optimize performance by memoizing functions like handleFile, analyze, and copyCode, so they are not recreated unnecessarily on each render.
Tips & Best Practices
-
1Works best with clean, flat-design screenshots
-
2Simple layouts with distinct color sections produce best results
-
3Use as a starting point — manual cleanup is usually needed
-
4High-contrast designs are detected more accurately
Related Tools
Image Color Picker
Click anywhere on an image to pick the exact color value in HEX, RGB, and HSL.
🖼️ Image Tools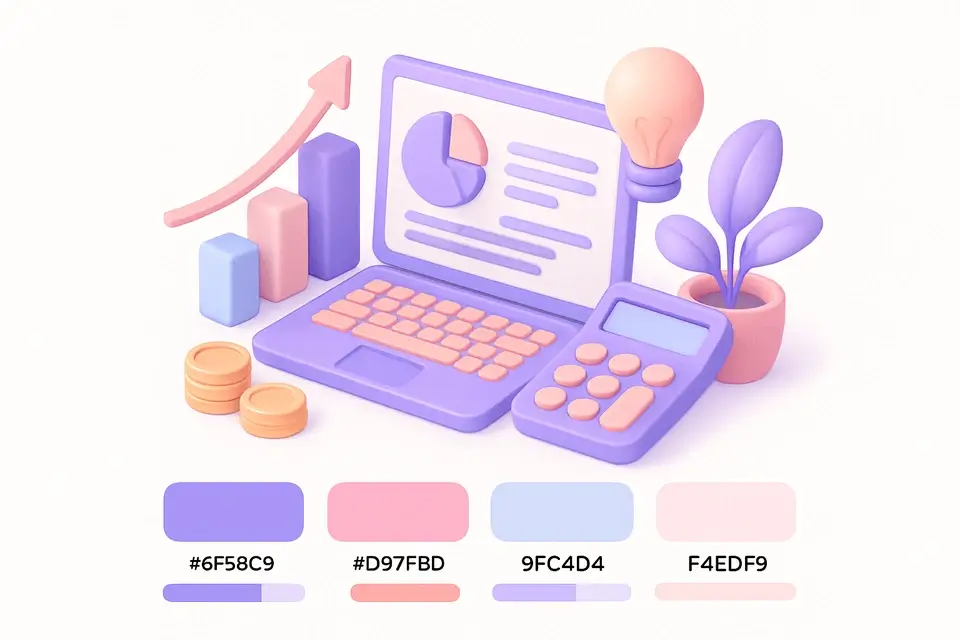
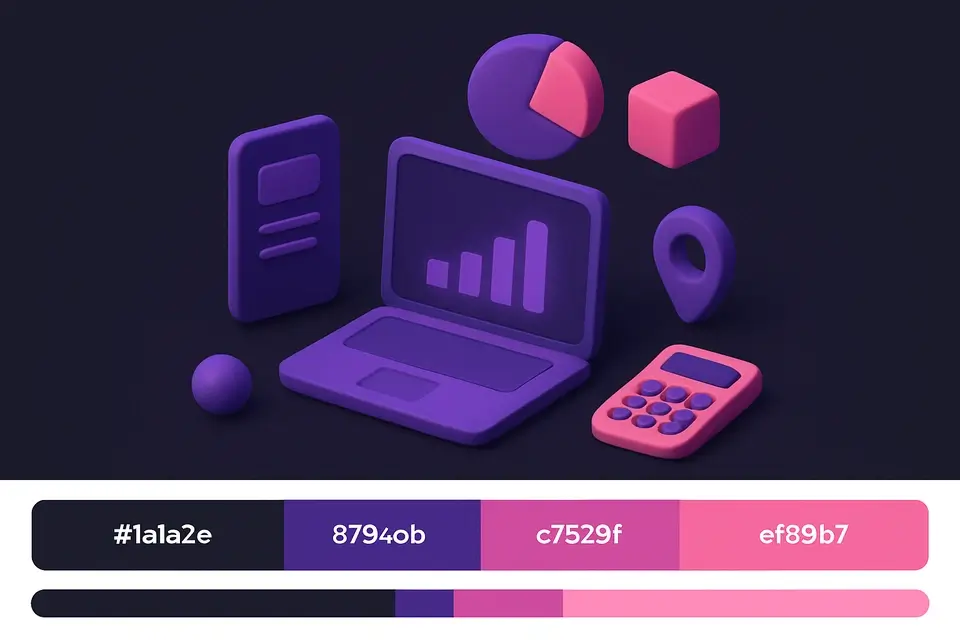
Color Palette from Image
Extract a harmonious color palette from any image using K-means clustering.
🖼️ Image Tools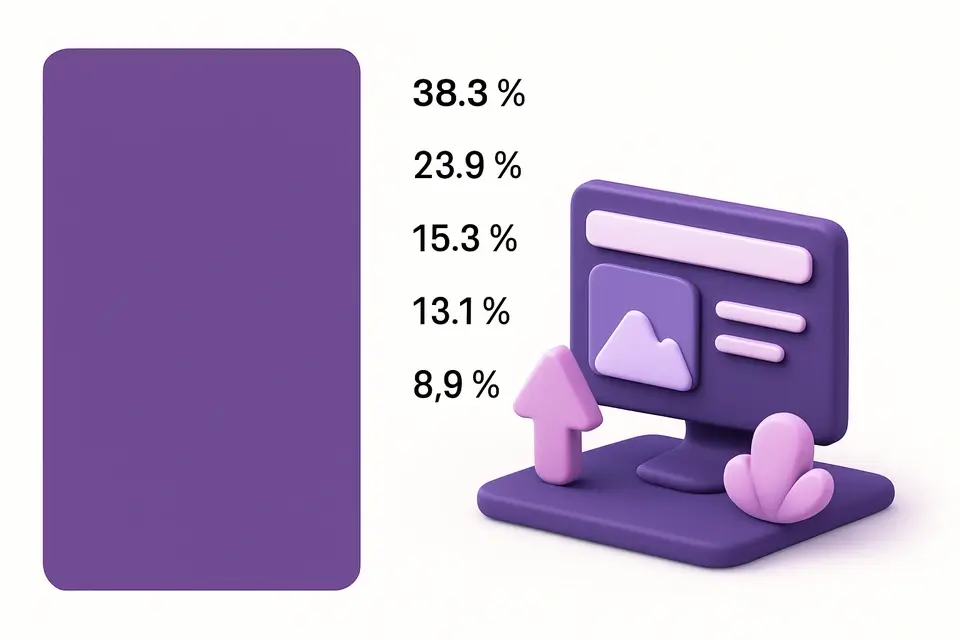
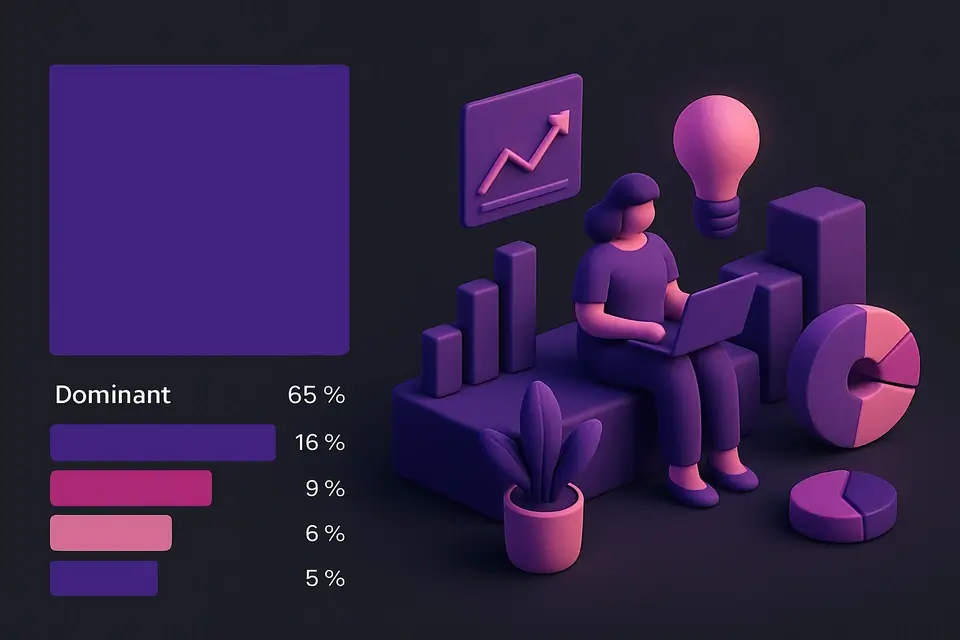
Image Dominant Color
Find the single most dominant color in any image with top-5 color breakdown.
🖼️ Image Tools
Image Difference Checker
Compare two images and highlight pixel-level differences with a visual diff map.
🖼️ Image ToolsFrequently Asked Questions
Q How accurate is it?
Q Is the output responsive?
Q Does it detect text?
Q Can it handle complex UIs?
Q Can I edit the output?
About This Tool
Screenshot to Code is a free online tool by FreeToolkit.ai. All processing happens directly in your browser — your data never leaves your device. No registration or installation required.